Pop Your Collar: DIY Embellished Shirt
This season we were pretty taken with Gucci’s shining catwalk offerings, from embellished coats to collars and cuffs. The 70s vibe reined on, with exaggerated pointed collars added to tops and dresses as well as shirts. OBVIOUSLY I set the amazing Jenny Brownlees to work to see how we could recreate it at home without a Gucci budget. For less than a fiver and an hour of your time (including glue drying time), you'll be the belle of the disco.


We fell hard for this pink pointed collar shirt, from Dirty Disco Vintage you can find similar styles in their brilliant ASOS Marketplace shop, here. However you could easily recreate this with something you have hanging in your wardrobe. To make this DIY the ultimate talking point of any Christmas or New Year's party, don't forget to get that KiraKira sparkle app downloaded…this beautiful bling deserves an Instagram!
You’ll Need
A Collared Shirt
Diamante Fabric Mesh, £3 (we used 1 metre, 4 rows thick, in black)
Scissors
Fabric Glue, £1
A Toothpick (optional)
A Tape Measure


How To
1. Lay your mesh out flat and cut into single strips with your scissors.
Think about how many rows of diamantes will fit your collar, ours was quite large so I went the whole hog and did 4. If you wanted less, you could increase the space between your rows as adjust our measurements accordingly. This would also work on a peter pan collar.
2. To start, add a minuscule amount of our suggested glue to the back of the diamante trip. You may want to use a toothpick to get a small amount; the glue is super strong. Only glue a few inches of diamantes at a time.
3. Starting at the top of your collar, position the strip of gems along the hem, to the edge and cut to finish. The great thing about the mesh is it cuts neatly and won’t fray.
4. Line up your next diamantes, this time working up from the tip of the collar, gluing them all the way up the outer edge and around the back of the collar.
If you run out of length, don’t worry, the diamantes can be easily lined up with a new strip.
5. Repeat on the other side, until your trim is all the way around the collar’s edges.
6. Measure 1cm up from where the embellished strip lies at the collars point, and 1cm in from the first strip on the edge.
7. Place and glue your second row of diamantes, all the way around the back and to the next side, keeping 1cm away from the previous row. Cut to finish.
8. Line up the next strip to make a point, glue up to the collars edge, and cut.
Repeat steps 7-9 to create the next ‘V’ shape on each side of the collar.
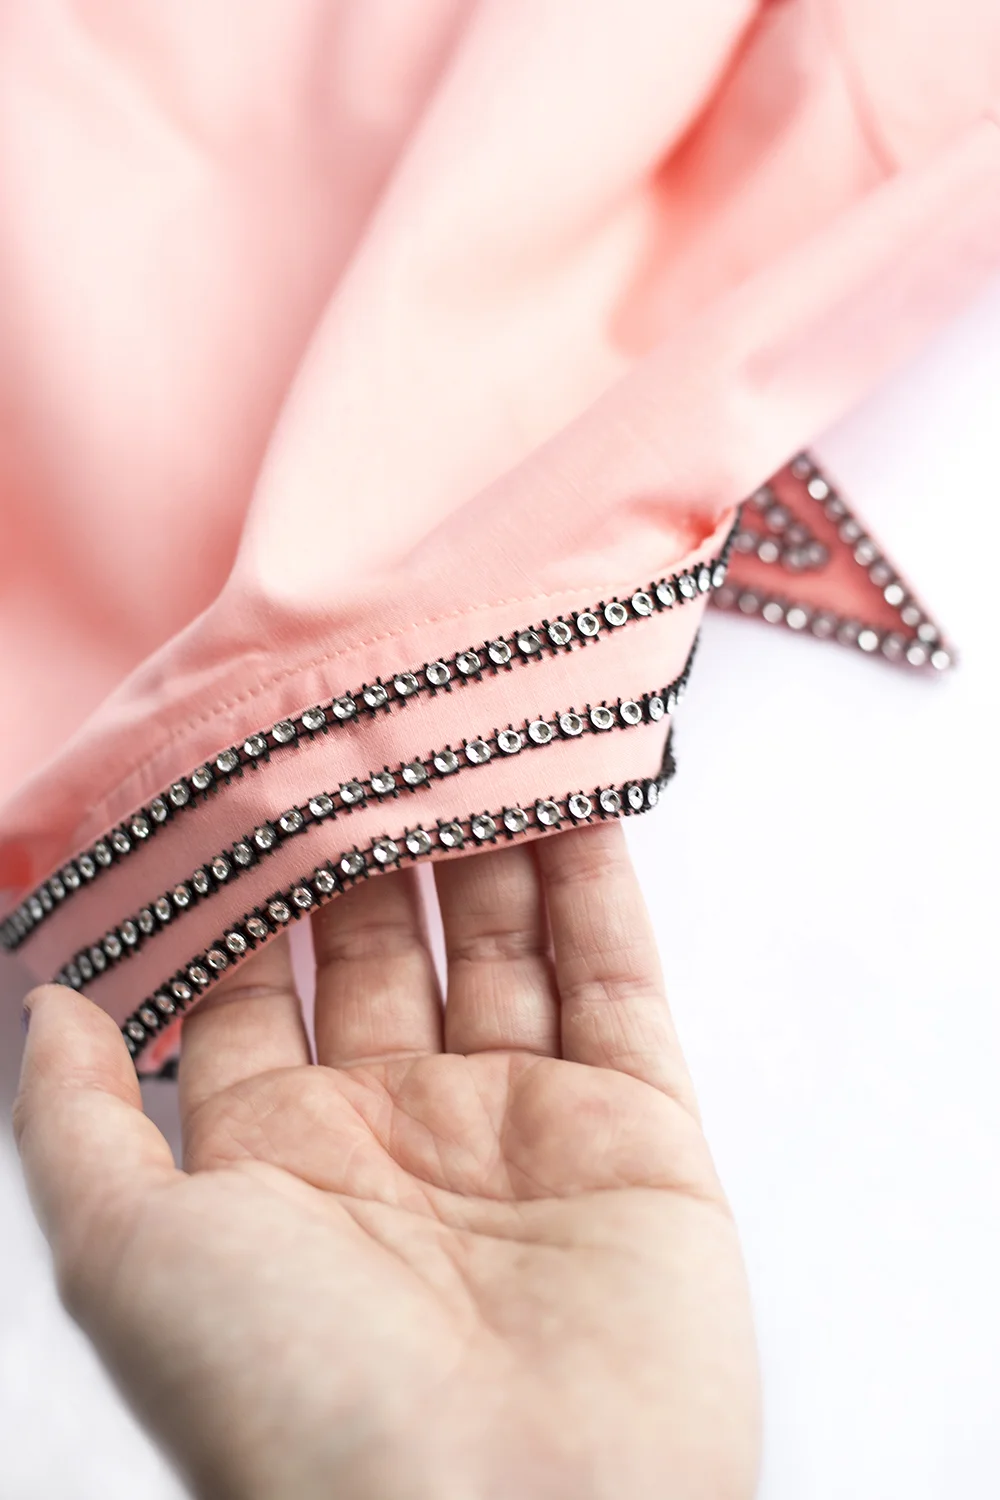
9. For the last, and smallest ‘V’ shape, measure 1cm in from the last row of diamantes and simply glue the strips upwards until they hit the inside edge of the collar. You don’t need to continue them around the back like the others.
10. Leave to dry for 20 minutes and you’re done!


Words & Photography | Jenny Brownlees
Also looking for a last minute gift idea? Then read Jenny's DIY eyelash plant pot for the cutest plant pot around.