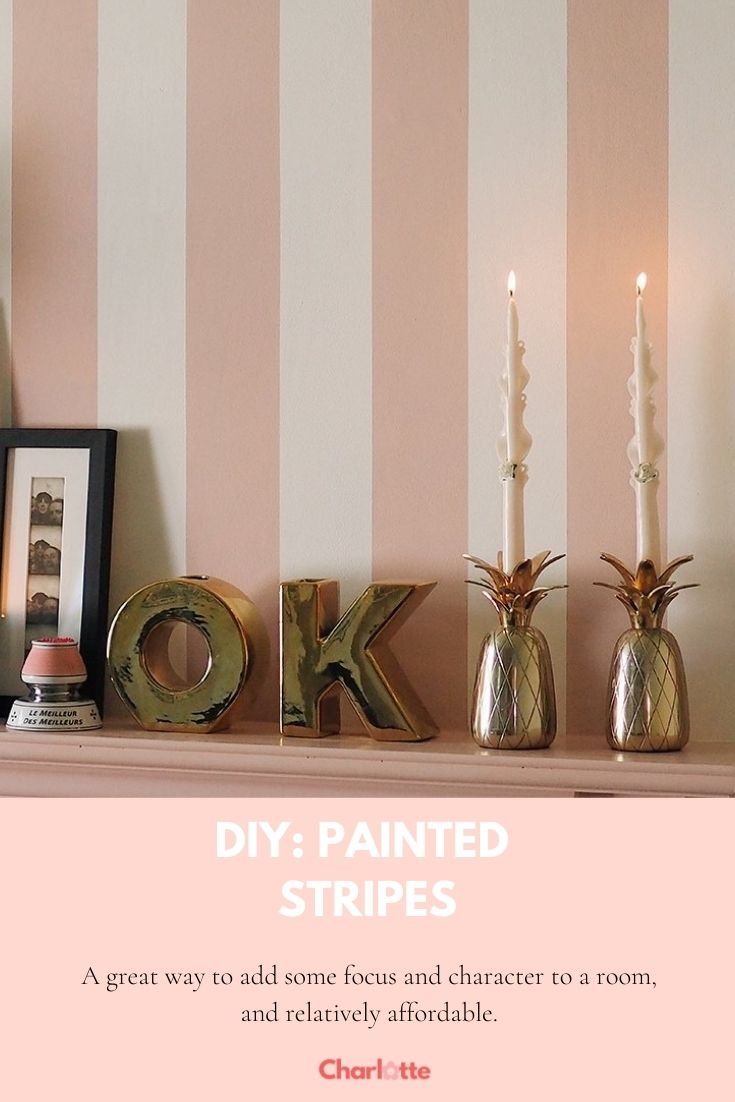
DIY: Painted Stripes
This post contains affiliate links.


Although I did paint these stripes last year, I am about to recreate them elsewhere in my house so I thought I’d jog my memory on how I did it. It’s such a great way to add some focus and character to a room, and relatively affordable if you have some leftover paint and frog tape in your DIY kit.
To paint stripes in your home you will need:
Yellow Frog Tape
Small Roller
Paint Tray
Wall Paint
Pencil
Tape Measure
Laser Level
Sugarsoap & sponge
Step 1
As with any painting project, ensure the wall is clean by wiping it down with a sugar soap solution and a sponge, wait for it to dry before painting.
Step 2
First off to get the stripes equal, you need to measure the width of the space you wish to paint. This then needs to be divided by how thick you would like the stripes, I went with a 10cm width on the stripes, you might want to go thicker or thinner, depending on the style you want. For example, this chimney breast measured 151.5cm, makes each stripe 10.1cm thick. Yes it would be better if they were 10cm each, but I did measure out 10.1cm for each one as accurately as I could.


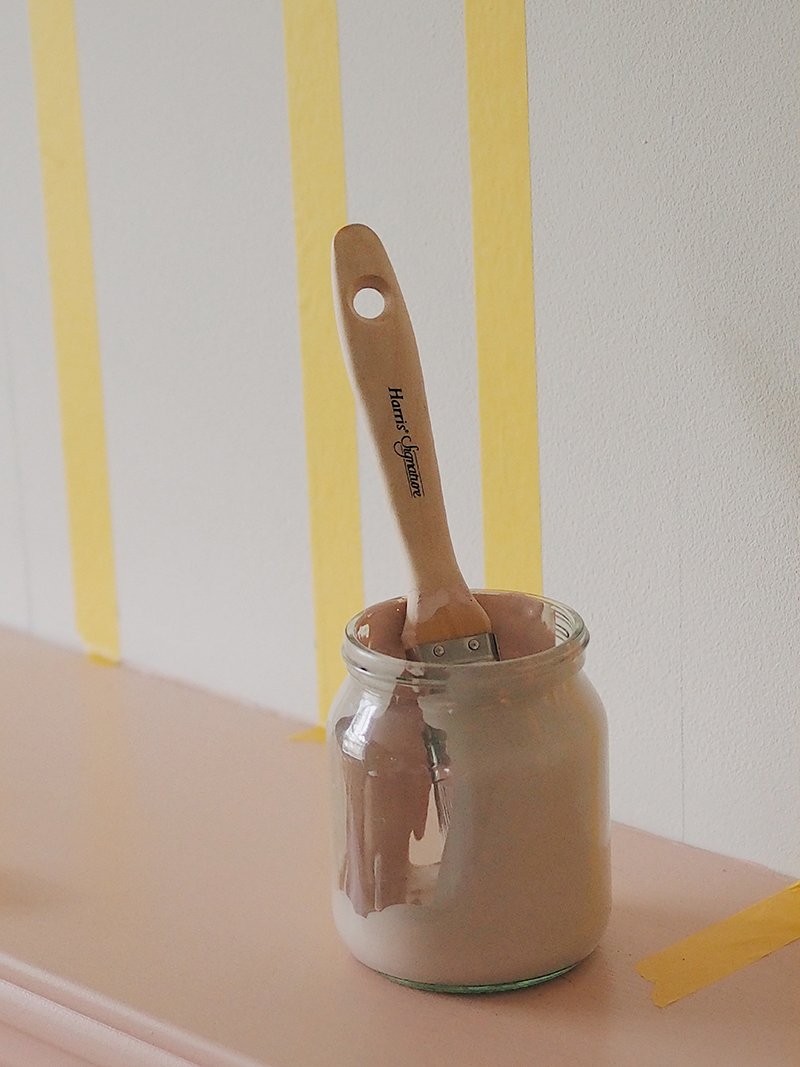
Step 3
To mark out the stripes I borrowed my brother’s laser level, which is now mine (shout out to my brother for that), however they are available online for from anywhere in the range of £20-£100. This marks a level line on the wall with a red laser, after I light marked with a pencil where the line needed to go. I then marked out the lines with the frog tape, it’s a little bit time consuming, but by far the neatest way to do this, and the laser projection ensured it was level.
Step 4
I’ll be forever grateful for the Otto House (https://www.instagram.com/theottohouse/?hl=en) for sharing how to paint neat stripes, this trick is essential to getting a crisp line. Before adding any colour on, you need to paint the edges of the stripes with the base colour, in this case it was white.

Step 5
Now this is a very Charlotte specific step, but I got confused half way through of which bit was supposed to be pink and which one white, so before adding the colour just mark out with a thin blob of paint is supposed to be the one being painted.


Step 6
Apply second to three thin coats of the stripe colour, in this case pink, to the wall. When the second or third coat has been applied, whichever is your final coat, remove the frog tape before it’s fully dry. It’s a bit nerve wracking, but removing it whilst damp is going to reduce the risk of paint bleeding.


Step 7
Sit back and enjoy your handy work!
Have you painted any stripes in your house, or will you now? Let me know in the comments!